Step-by-step guide for starting your own Image Hosting Website.
Step 1 – Get a Domain Name
Get a domain name for your website. Don’t be tempted to use free domain names; they are worthless. That’s why they’re free.
You can get a cheap domain for £5. Try Namecheap or GoDaddy.
Step 2 – Buy a Web Hosting Plan
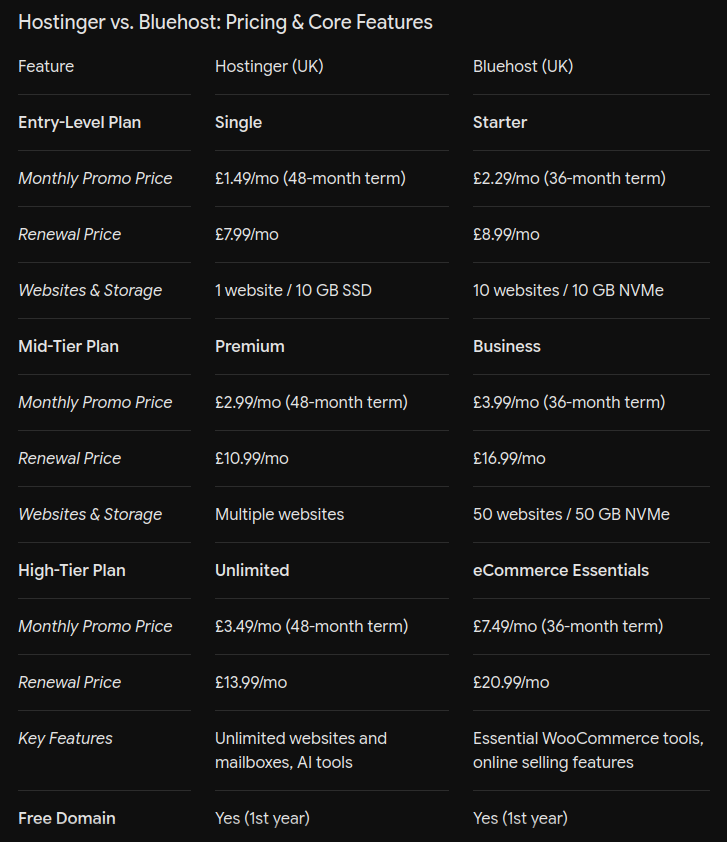
To host your website, you will need a web hosting plan. Choose a reputable web hosting service provider. Bluehost and Hostinger are great options.
During Black Friday sales, you can grab great deals on domain names and web hosting plans. Save money wherever possible.
Step 3 – Design the Website
If you have a bit of experience in developing websites, you can use AI coding tools like Cursor or Windsurf to build an image hosting website.
I built a custom CMS for this exact purpose. It’s easy to use and fine-tuned for Hostinger’s LiteSpeed Hosting. It also supports videos, which means you can upload viral video clips and share them just as you would with screenshots.
You can download this script from my Gumroad page.
Feel free to check out the demo site here, or watch the tutorial on how to install this custom cms.
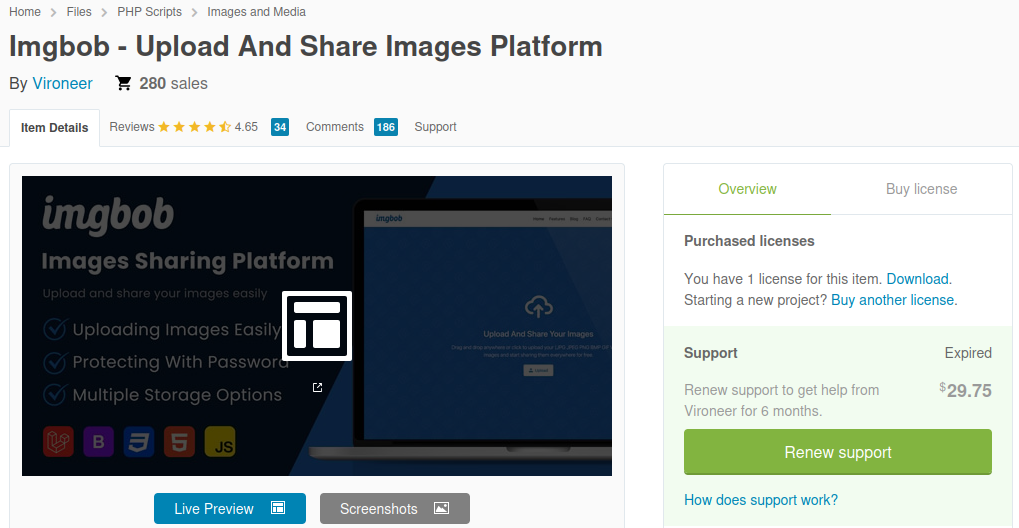
I personally use Imgbob; it’s a polished script, but beginners may find it a bit confusing to install and customise.
You can check my website over here. ( FYI: I disabled guest upload and guest signup to prevent others from uploading to my site. The issue is that some people upload pornographic images.)
I bought the ImgBob script years ago. I can’t quite remember what I paid for it, but it usually goes for around £40 now.
If you grab it on sale, you can pick it up for £22 or less.
Step 4 – Install and configure your website
Upload your website script and install it. Connect your domain name and ensure SSL certificates are installed properly.
Visit your site on mobile devices, tablets if you have and also test in your computer to ensure the displays the images properly across the devices.
Step 5 – Integrate Analytics
You can use Google Analytics to track website traffic. Create a property in GA, copy the tracking ID, and insert it in your site’s header.
You can track what kind of content drives more traffic and which subreddit works best for you.
Use this data to make the right decisions, which can significantly improve your traffic and increase your ad revenue.
Step 6 – Social Shares
Start posting political humour content, sports stats, memes, and screenshots of viral tweets in relevant subreddits and other social media.
Step 7 – Integrate AdSense
Now it’s time to monetise the website. Submit your site to AdSense or any other ad network of your choice. You will need to insert the ad code on your site to verify the domain.
It will take a couple of days for them to review your site; once approved, you will start earning.
Earning Potential: During your first 6 months, you can expect to earn anywhere between £100 and £500 per month. Earnings depend on traffic volume and CPM rate.
Wrapping up
I hope you understood how this quirky side hustle works; if you have any questions, feel free to ask me.
A quick heads up: If my advice ever comes across as a bit blunt or wide of the mark, please take it with a pinch of salt. I’m not the fount of all knowledge, and I certainly get things wrong from time to time.
Leave a Reply